|
|
||
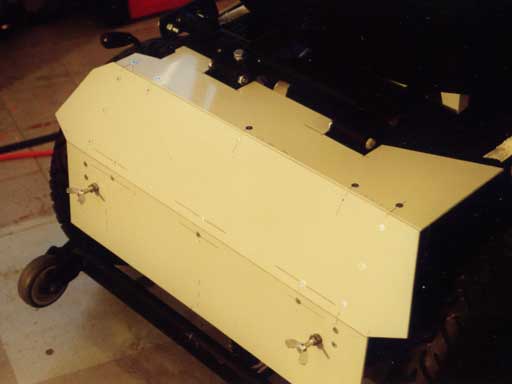
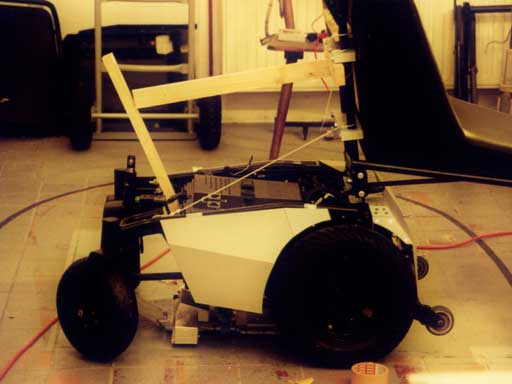
| Back to the diary | Here are the first results of the wheelchair's body, that I've built out of vinyl. I've disassembled the cardboard body and taken the pieces as templates for the vinyl sheets. |
|
|
||
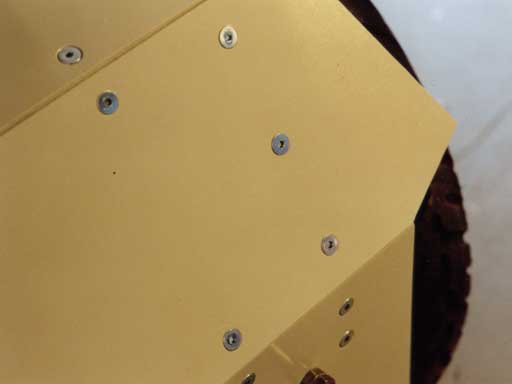
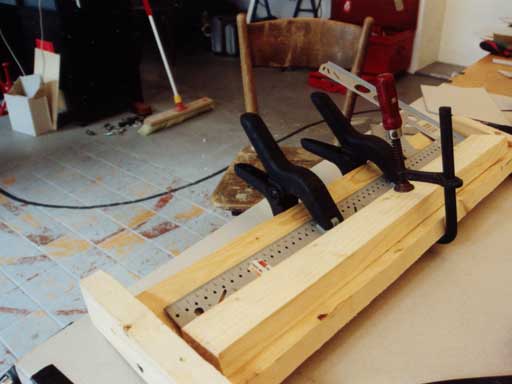
I fixed the vinyl sheets with countersunk hexagon screws on a chassis, which I've also built out of vinyl. Even if the screws itself look quite good, I didn't like the fact that there were so many of them - and where they were located. |
||
|
||
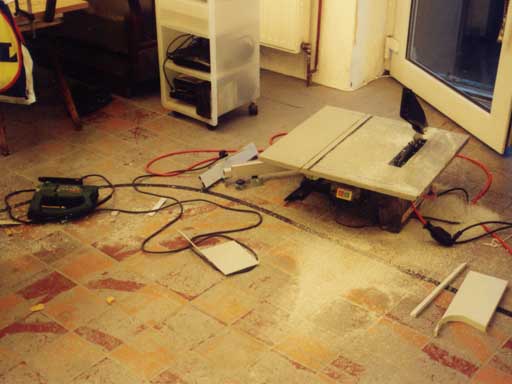
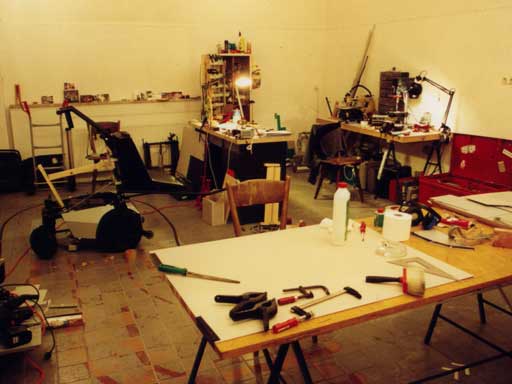
I turned my workshop into a big mess, when I was cutting all the vinyl. I tried every saw to cut the material. First I tried to do it with the circular saw, but the one that I have, is not very good and the result wasn't precise enough. Next, I tried to saw it with the mechanical fret saw. But this was too uncomfortable. So I used my stitch saw with a metal blade at the end, and that worked quite well. |
||
|
||
As I mentioned above, I was not happy with the amount and the allocation of the screws, so I decided to build the piece once more. For the second try, I already marked the position of the screws at the beginning. |
||
|
||
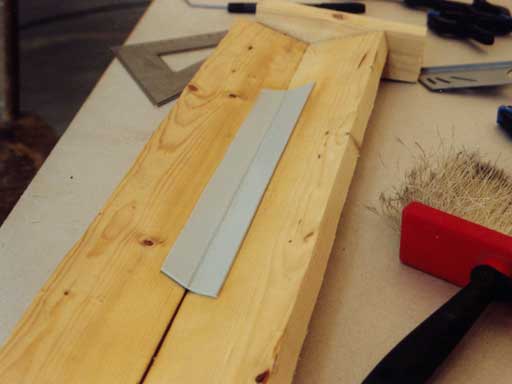
After I've built the second version of the back part, I started to build the side parts. I've thought out a new technique, where I didn't have to screw so much. I started with bending vinyl pieces, which I glued behind the visible parts. To bend the vinyl, I used an industrial heat gun. When the plastic was flexible, I've put it in that wood construction, which I prepared before. With the help of that construction, I could bend it to any required angle. |
||
|
||
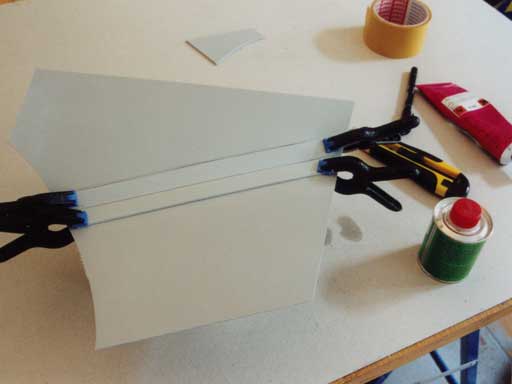
This is the first bended vinyl part. |
||
|
||
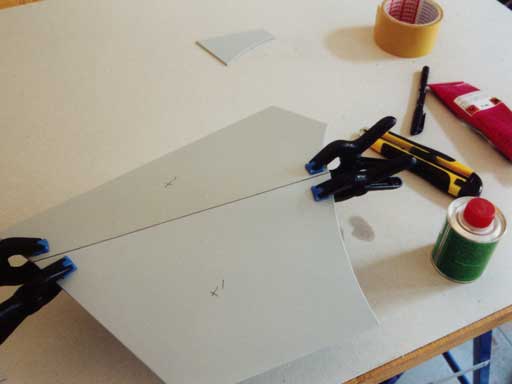
The next step was to glue this part with tangit at an invisible position of the cover. |
||
|
||
The same part, seen from the other side. Later, this side will be visible. |
||
|
||
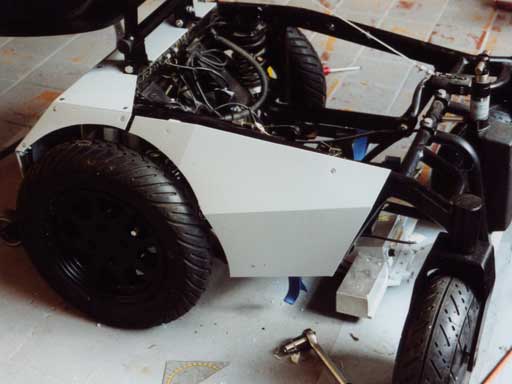
This is how the side part looks like. On this picture, it is not yet fixed on the chassis. |
||
|
||
And here, you can see the mess in my workshop again. |
||
|
||
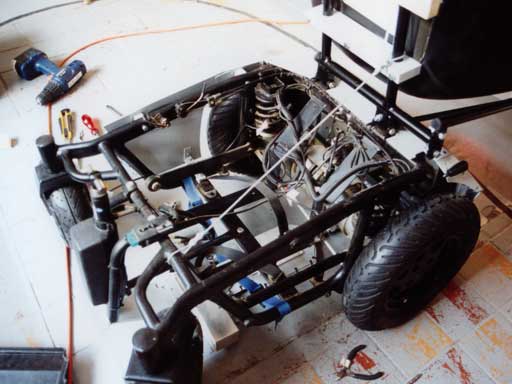
To get the side parts fixed at the chassis, I had to remove the batteries and their cases from the wheelchair. |
||
|
||
I filed three small mounts, which hold the side parts at the chassis. They were screwed onto the chassis from inside. Onto them, I screwed the side parts from outside with three of the countersunk hexagonal screws. |
||
|
||
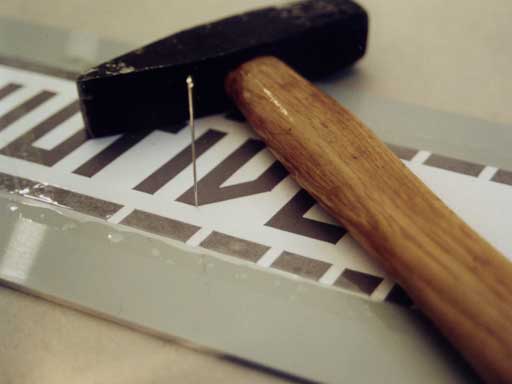
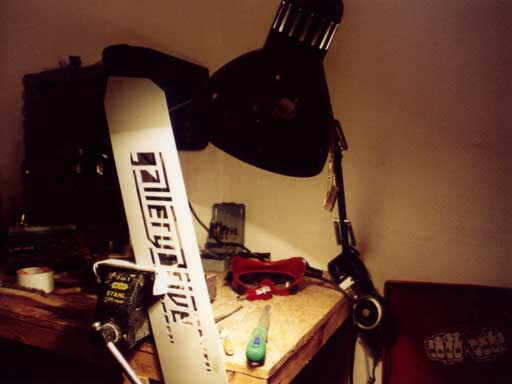
At the end, I decided to rebuild the back part for a third time. Because I was still unhappy with the amount of screws, that I had to use. And because I wanted to glue the third version, I already had to cut the logo into the back directly at the beginning. So. I've printed out the design, stuck it onto the vinyl and used a needle to assign the logo onto the vinyl. |
||
|
||
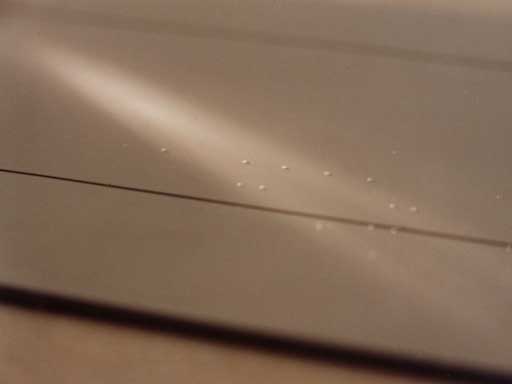
Here, you can see the marks, which I made with the needle. |
||
|
||
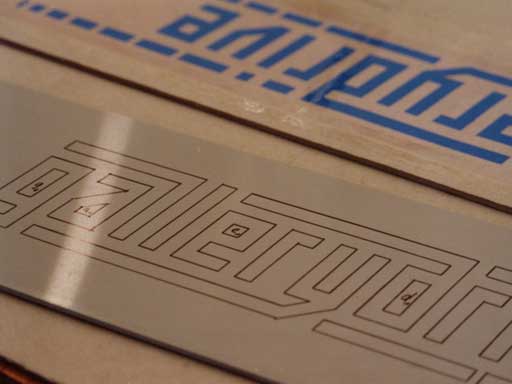
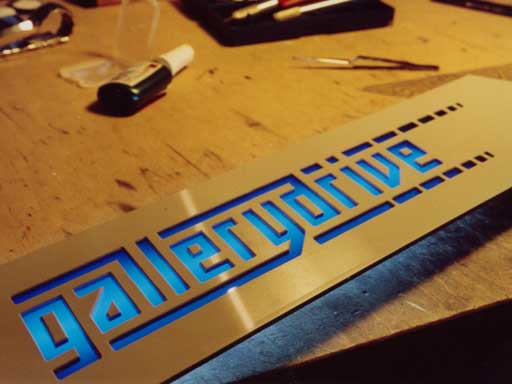
Then, I connected the needle marks with lines. Voilà, that's the logo on the vinyl. |
||
|
||
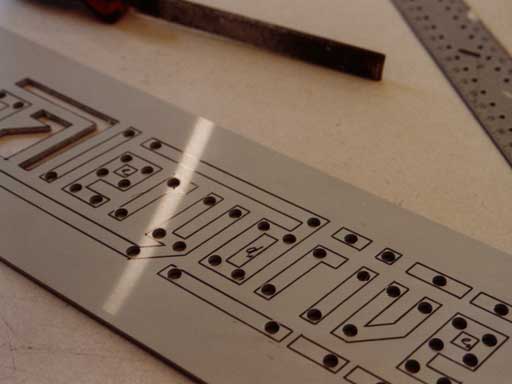
After that, I drilled holes into the letters, in order to saw them out, later. |
||
|
||
This is the back plate with the sawn out logo. At this stage, I was filing the cutting edges. |
||
|
||
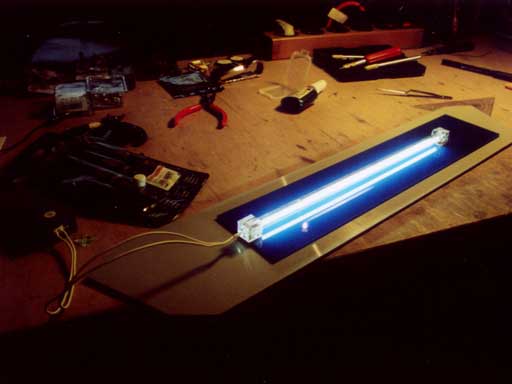
And at the end, I glued a blue plexiglas behind it and I adhered a cold cathode tube onto it. You remember, I've already used this kind of tube for the line detection unit. |
||
|
||
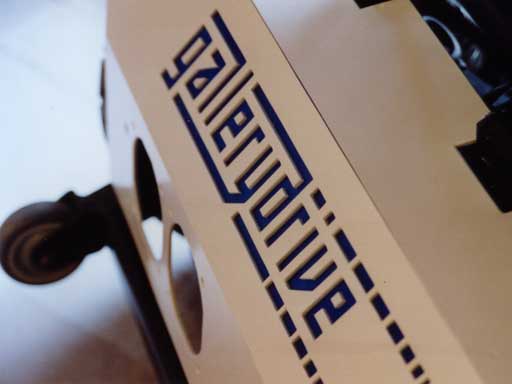
The backlit logo looks quite alright! |
||
|
||
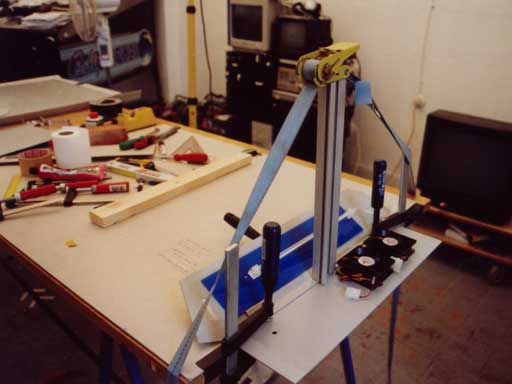
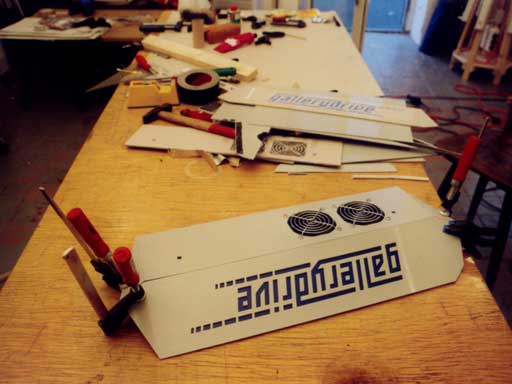
Gluing the parts together was not easy, because they all weren't flat anymore. I had to invent strange constructions to get pressure on the surface. |
||
|
||
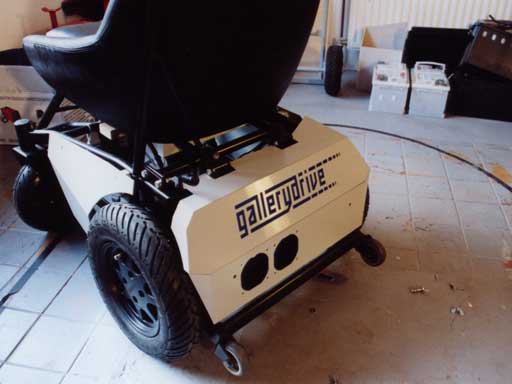
Here, you can see already quite well, how it will look later. |
||
|
||
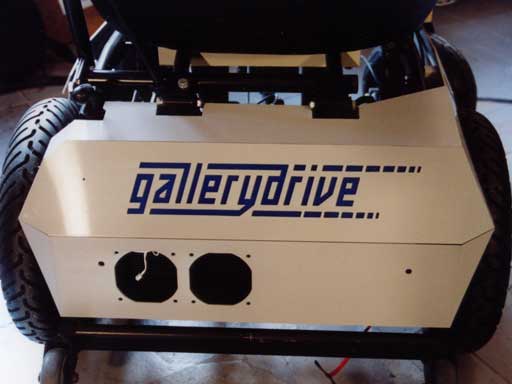
Now, that's the finished back piece. I would say, that it was really worth to build that thing so many times. |
||
|
||
From this perspective, you can see the bevels at the logo a bit. |
||
|
||
Another nice view. |
||
|
||
Please note, that the content on this webpage is licensed under a Creative Commons Attribution 2.0 License. Please respect the copyright of other webpages' content, which are linked from this webpage. |
||